
Hey guys! It’s Lydia here!
All of your MOOP Contest photos were so amazing and I loved seeing your creativity come out in them so much! Today I’ll be going over a few things, so stay tuned!
Now let’s get on with today’s post!
Hey guys! It’s Lydia here!
All of your MOOP Contest photos were so amazing and I loved seeing your creativity come out in them so much! Today I’ll be going over a few things, so stay tuned!
Now let’s get on with today’s post!
Hi everyone! I hope you had a great weekend and, for all you Virginia people, are ready for a SCHOOL-FREE MONDAY!
Okay. Well, I’m homeschooled (fun fact if you didn’t know!), but that doesn’t mean I’m not happy for all you schoolers. 😀 😛
Anyway, I spent this afternoon making a super fun craft. I’m not artsy, I have no artistic flair, but this craft was fun + easy (bonus!). Hopefully, you’ll enjoy it as much as I did and be able to spruce up your house with some Autumn Awesome!
Enjoy! ~
I love to fold paper. My folding isn’t super neat, but I love to make origami things – frogs, birds, pinwheels, PUMPKINS. Today, you’re going to learn how to make DIY PUMPKIN GARLANDS!
For the pumpkin tutorial, go here! It’s a great pumpkin tutorial! Easy to follow with lots of pictures to help you as you go along. Sweet! Thank you Make-Origami.com! Make lots and lots of pumpkins (different colors if you want) for your garland!
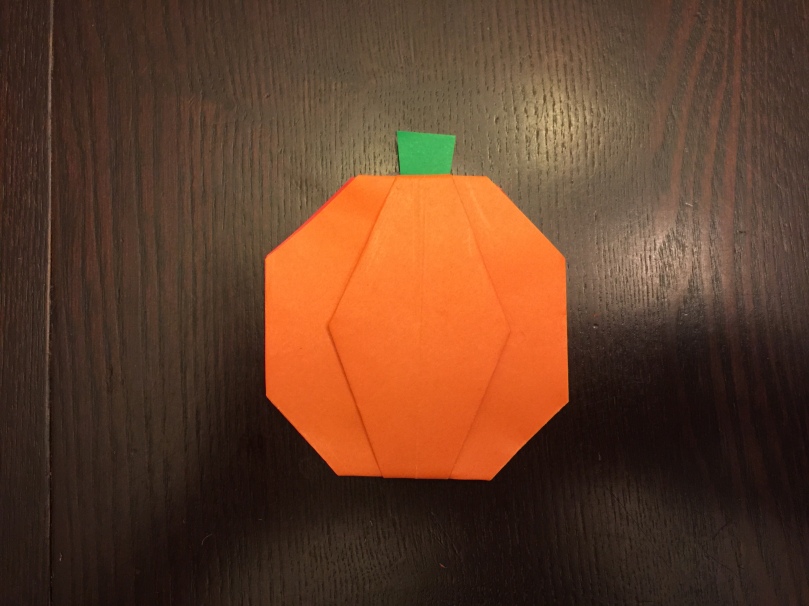
The tutorial says you can fold an orange stem from the pumpkin, but I personally like it better to get some green paper, cut a stem out, and tape it on. Also, I am not that much of a talented folder/origami-artist and couldn’t figure out how to do that orange stem thing 😳
Your pumpkin should look something like this:
Once you’ve made your pumpkins, get out some yarn (whatever color you want), scissors, and tape.
Now it’s time to put your garland together!
Take your pumpkins and cut a fair-sized amount of yarn off. The length of your yarn will depend on your preference. Once you have the yarn, take your first pumpkin and tape the yarn to the back of the pumpkin so it won’t block interfere with the pumpkin’s beauty 😛 Remember to tape it a good length away from the end of the yarn so you have space to hang up your garland! Continue to tape your pumpkins across the yarn. Also, strive to have an equal amount of space between your pumpkins.
In the end, your pumpkin garland should look a little like this – hopefully better and a little longer –
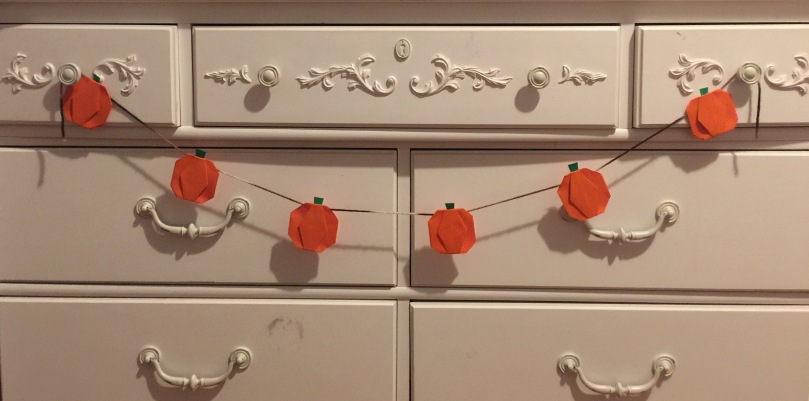
I hung it on my dresser for picture purposes, but soon it’s going to go somewhere where everyone can see! I wrapped the end of the yarn around the knob, but there’s actually a good amount of yarn remaining on the ends, and it’s smart to keep it there, for hanging-up purposes.
So here we have it – An Origami Pumpkin Garland!
Oh, and keep in mind that if you don’t have origami paper, then you can just take a piece of regular sized orange paper (or any color paper you want your pumpkins to be! maybe blue!) and follow these instructions.
Super simple, super fun! Hope you enjoyed this pumpkin garland and get to try it out! I almost never have autumn decor up in my room or house, so I’m so, so, so glad I found this! Thanks again to Make-Origami.com and Instructables.com for the instructions.
Thanks for sharing in my Autumn Awesome and reading this post!
And as promised, the question to hopefully start some discussion from my followers/viewers! ~
What is your favorite fall tradition?
Also, it would be great if you could follow dancer4theKing! Just hit the follow button to recieve an email every time I post something new and a great big hug from me! Thanks so much!
Till next time ~
Lydia ❤
